Export Barcode Screenshots
Barcode Generator – Corporate Edition has two methods to design barcode images –
1. Barcode Settings method
2. Barcode designing View Method
You can create barcode image using any of the above designing method. Here we are designing barcode using barcode designing view mode and discuss about how to export barcode image.
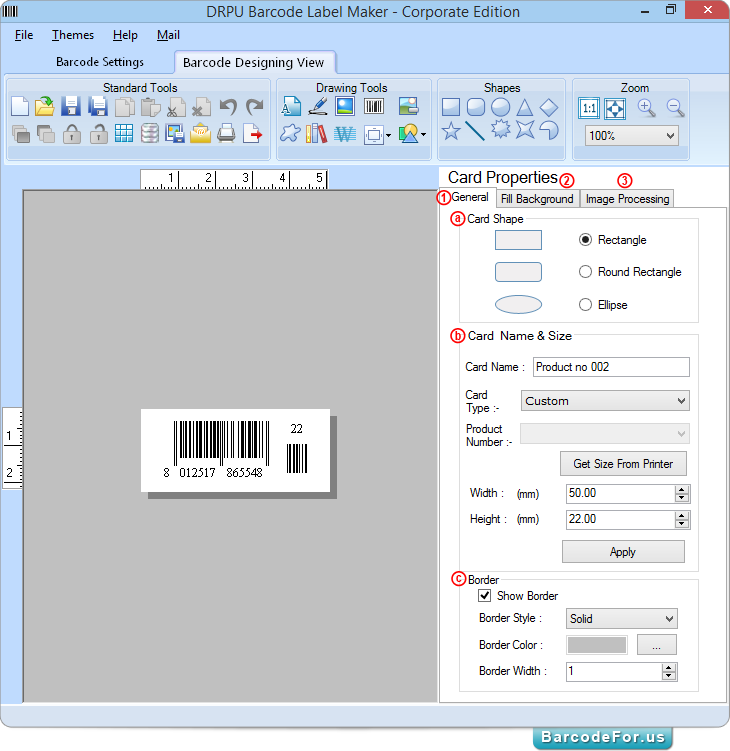
First design your barcode image according to business industry need. Using 1 General Tab of Card Properties, you can Specify a Card Shape (Rectangle, Rounded Rectangle and Ellipse), b Enter Card Name and Size (Width and Height) and c set border if required.
2 Fill Background - Provides facility to fill color, gradient and image as card background.
3 Image Processing – This tab allows you to set brightness, contrast and hue of the card image.
Once you designed your barcode, you can export it by clicking on Export icon from standard tools as shown in below screenshot.
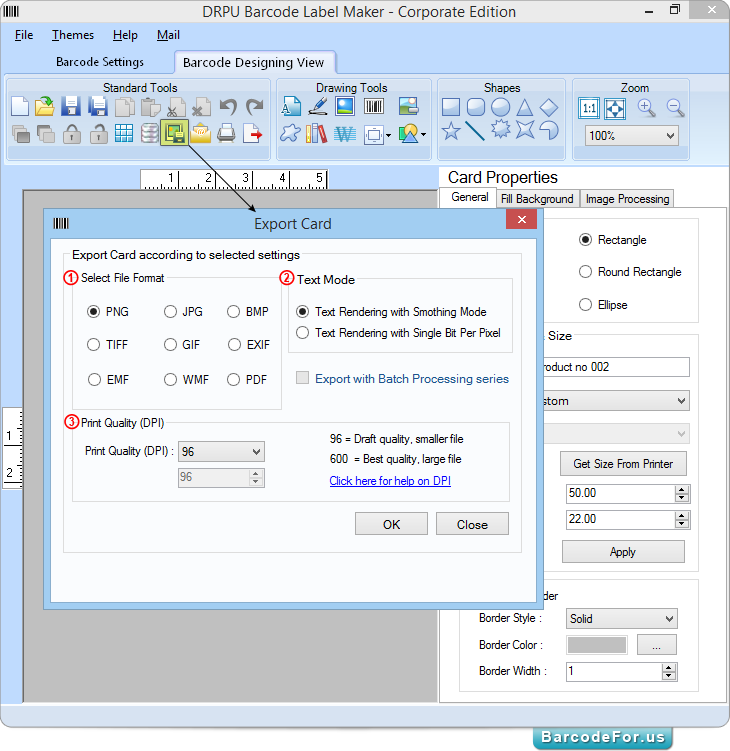
"Export Card" window allows you to –
1 Select file format - Choose barcode image file format (as PNG, GIF, JPG, BMP, TIFF etc.).
2 Choose Text Mode (Text rendering with smoothing mode or text rendering with single bit per pixel).
Then click on “OK” button to export card according to selected settings.
3 Set Print Quality (DPI) as per requirement.
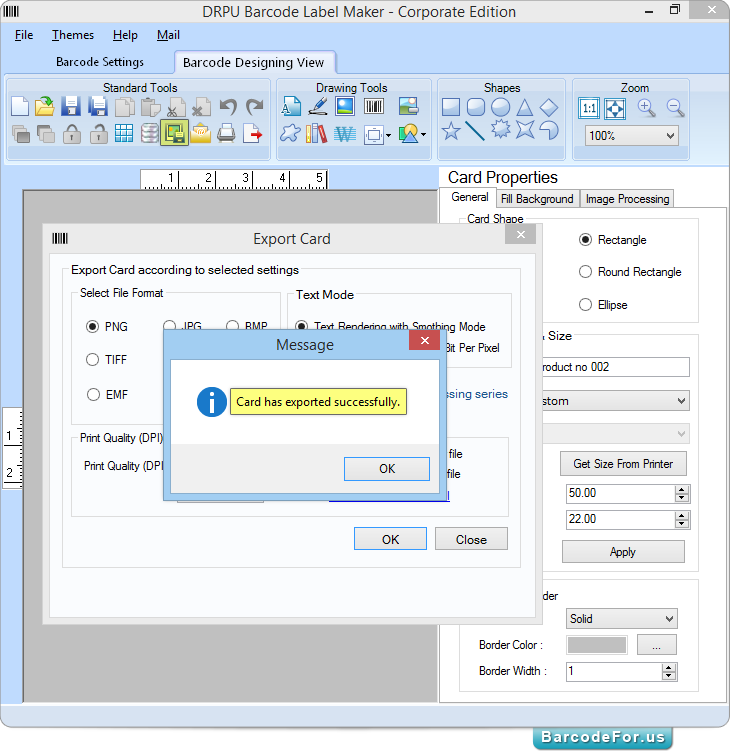
After pressing “OK” button, the confirmation message “Card has exported successfully” window will appeared as shown in above screenshot.
Now open MS-Excel or any other application where you want to insert exported barcode as displayed in below screen.
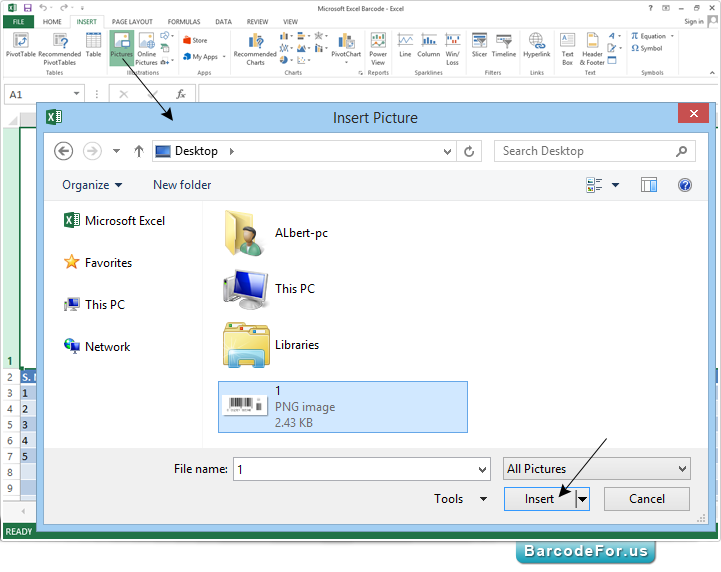
Browse exported barcode from local disk, select file name and then click on "Insert" button.
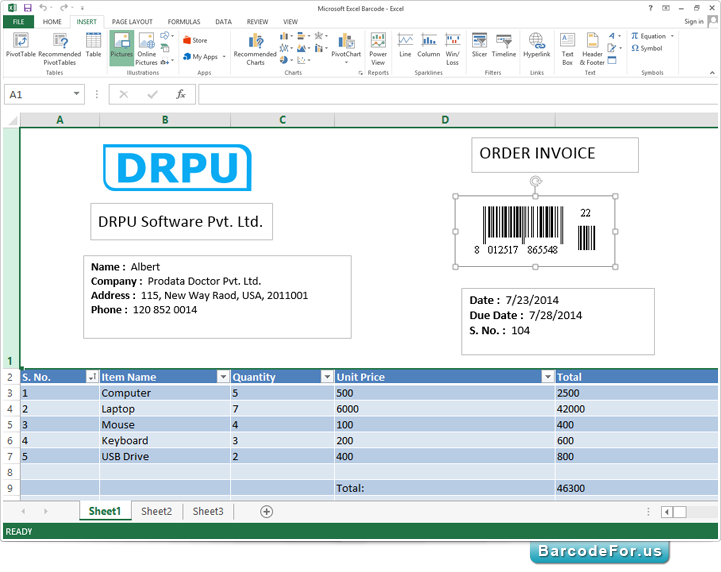
Here you can see the exported barcode on your excel sheet.


