Barcode Generator for Publishing Industry Screenshots
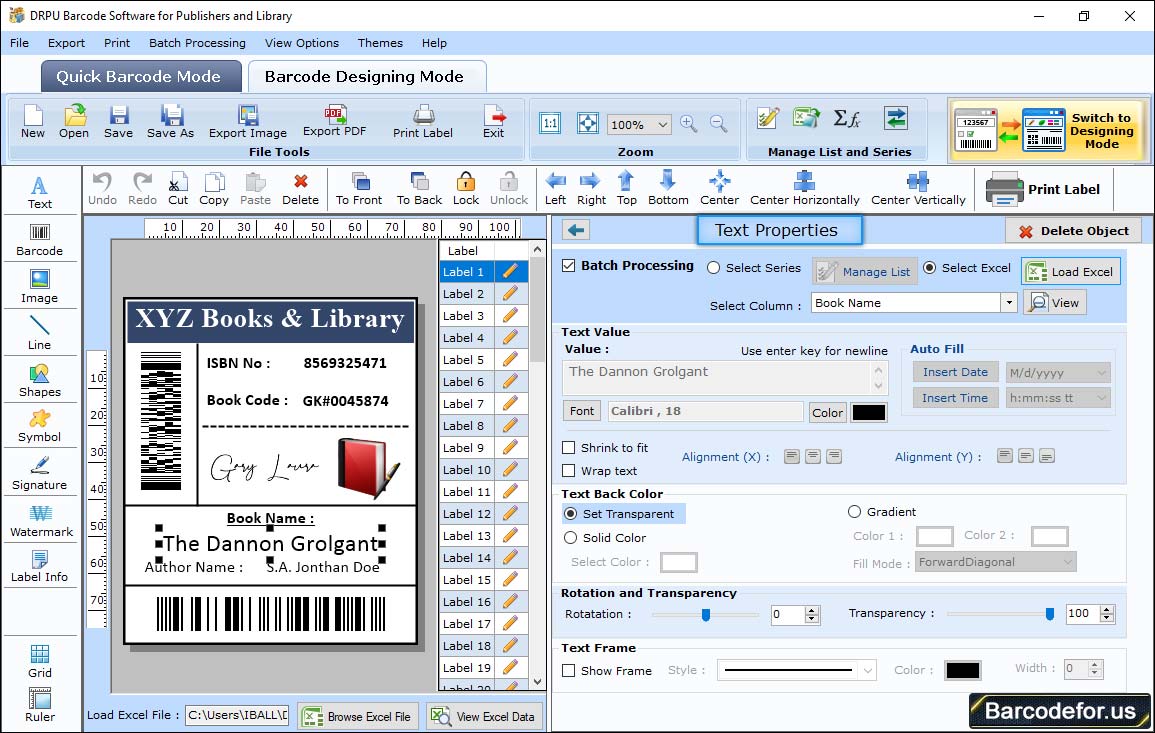
Add text on label by clicking on Text icon from drawing tools of barcode designing view panel. Click on inserted text to work on its properties.

There are following settings in text properties :
1 Color Settings – Change color of text and background using color settings option.
2 Other Settings – You have an option to rotate text angle and add or show frame as per choice.

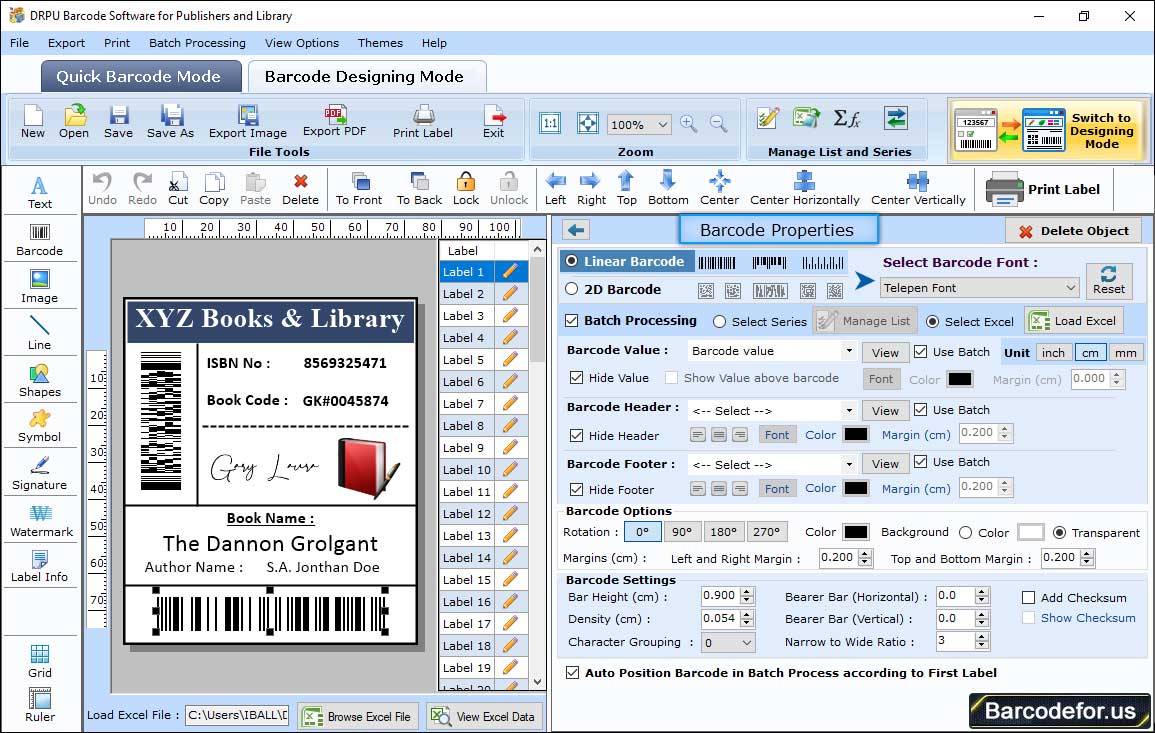
First select barcode technologies and type like linear barcode and ISBN barcode font as shown in above screenshot.
You have various tab for different properties including-
1 Value Tab - Add barcode value, header and footer as per industry requirement. Here you can also adjust narrow to wide ratio, alignment, orientation etc.
2 Size Tab – Set bar height, density, top and bottom margin, left and right margin, barcode header, footer and value margin as per need.
3 Font Tab – Set Barcode value, header and footer font using font settings tab.
4 Color Tab – This option is used to change color of barcode, barcode background, barcode header, footer and value color if required.
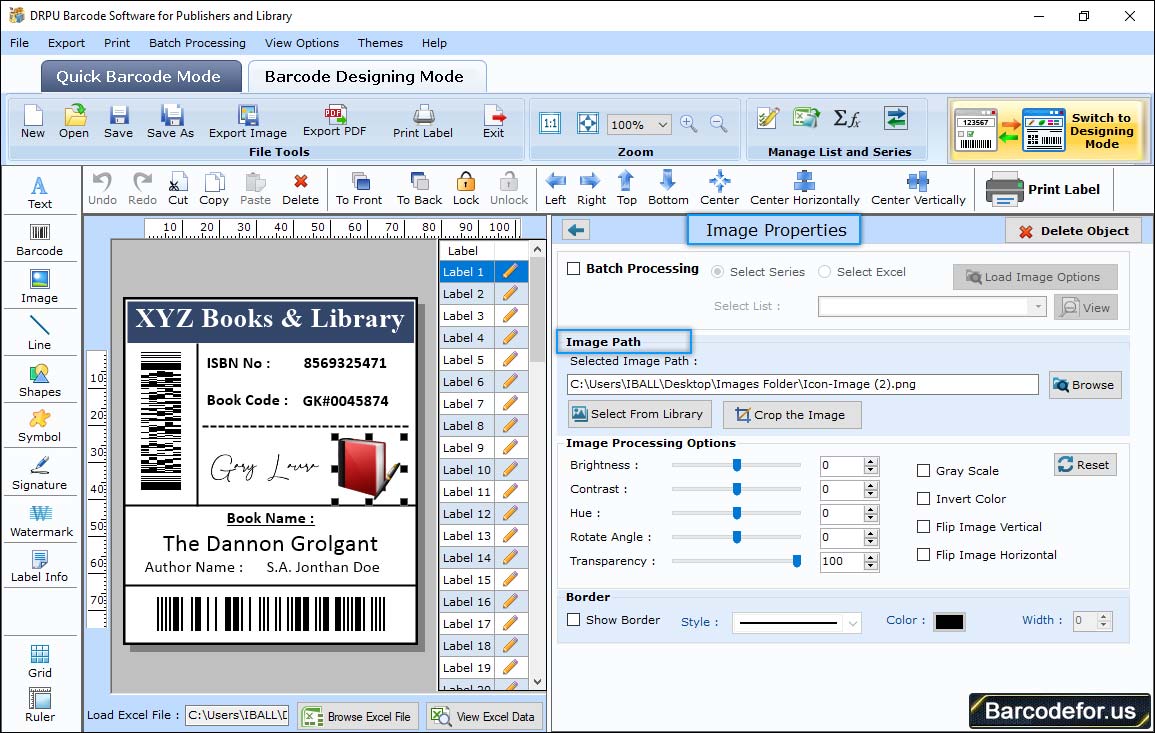
If you need to add picture on your label, click on picture icon from drawing tools.

By using picture properties,
▶ You can select picture from library, or
▶ You also have an option to browse your own photo from local disk by clicking on “Browse” button as shown in above screenshot.
Select image and click on “Open” button.
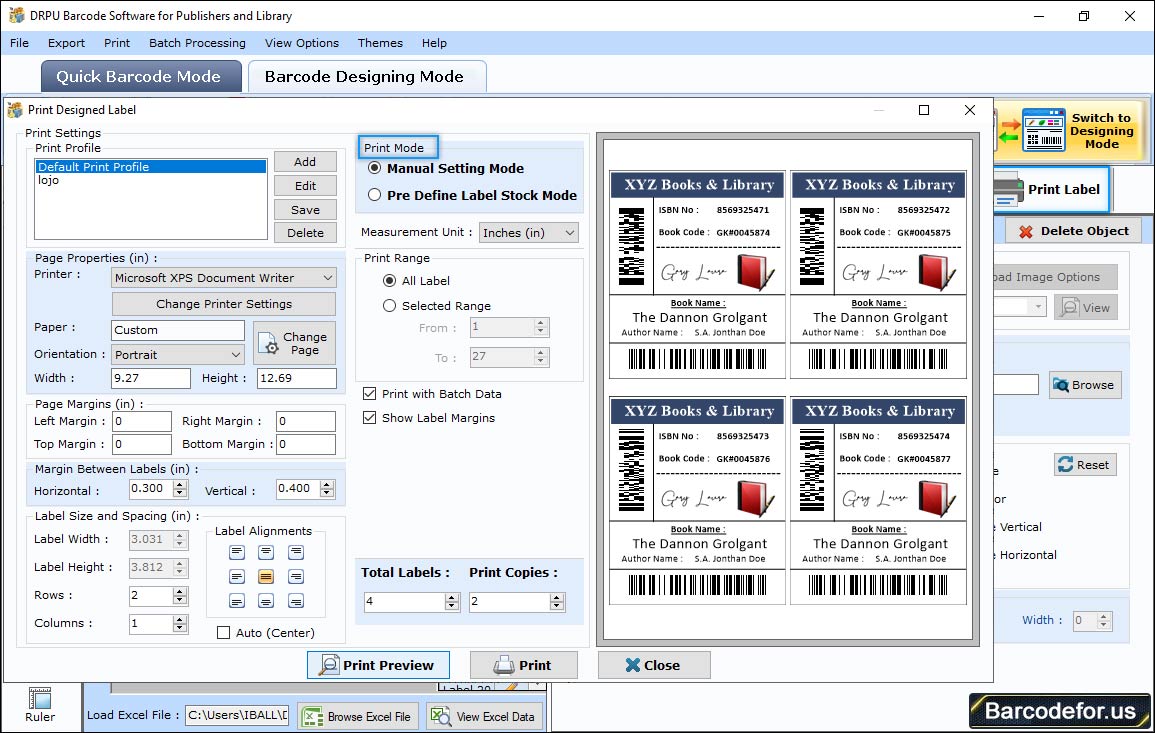
Now print your design publisher and library label. Open print window by clicking on print icon from standard tools

Select Printing mode either Pre Define Label Stock or Manual.
If you are choosing Manual print mode, you can select 1 print profile or set 2 Page properties by clicking on Add or Edit button, 3 Adjust margin between labels (Vertical and Horizontal) and set other 4 Print options (including – printer, paper used, maximum label per page etc.).
Then press “Print” button to start final printing process.


