Barcode Generator for Post Office Screenshots
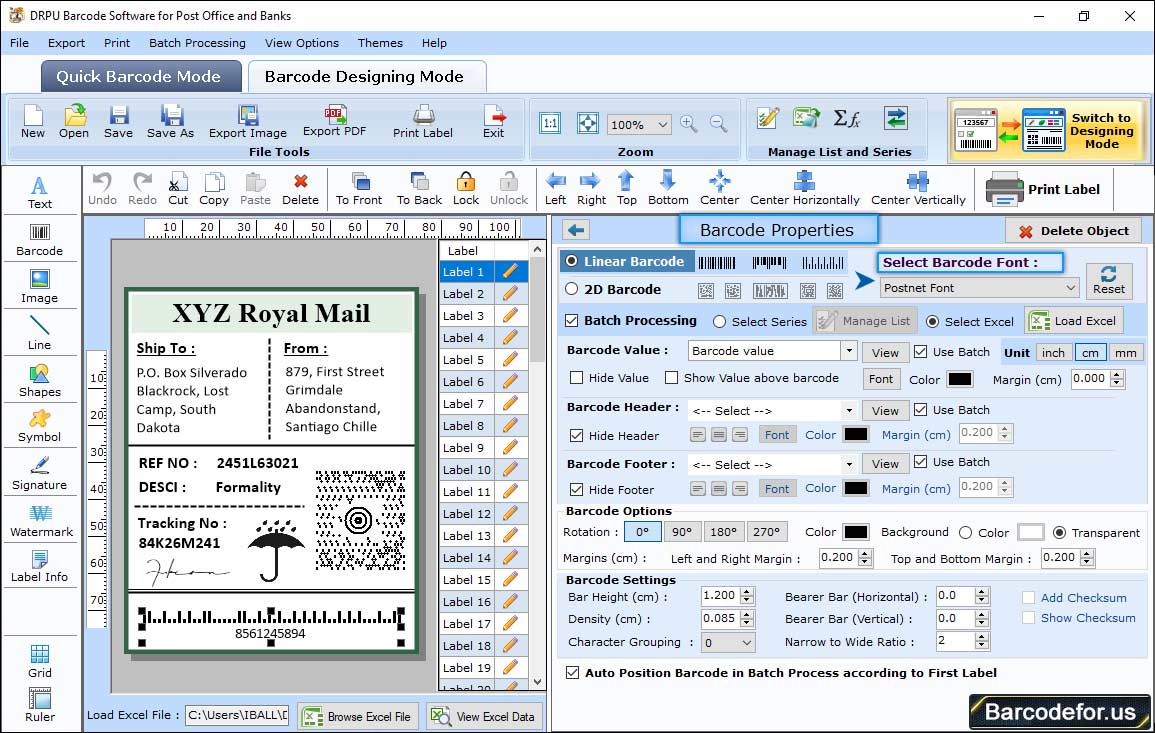
To insert barcode on label, click on barcode icon from drawing tools. Double click on added barcode, following window will be displayed:

First choose Barcode Technologies and Type as per industry requirement. Then adjust various settings like -
1 Value tab – Insert barcode value. You can also add barcode header and footer as per needed. There is also an option to hide and show barcode value, header and footer.
2 Size tab – Adjust different margins and other settings according to your requirements.
3 Font tab – Set font of barcode header, footer and value using font tab
4 Color tab – Change barcode color, barcode background color, barcode header, footer and value color as per choice.

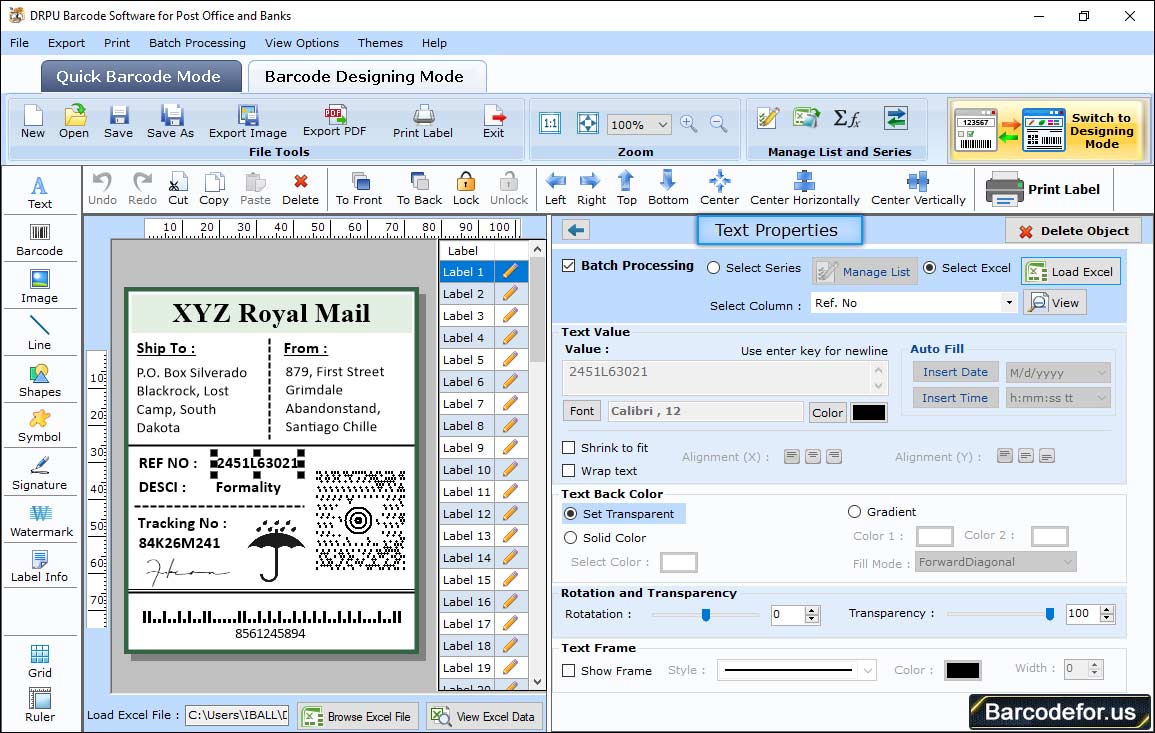
Click on Text icon from drawing tools to add text on label. Text properties include -
1 Color Settings – Set color of text fore color and back color accordingly.
2 Other Settings – You also have an option to rotate text, add frame as per your labeling requirement.
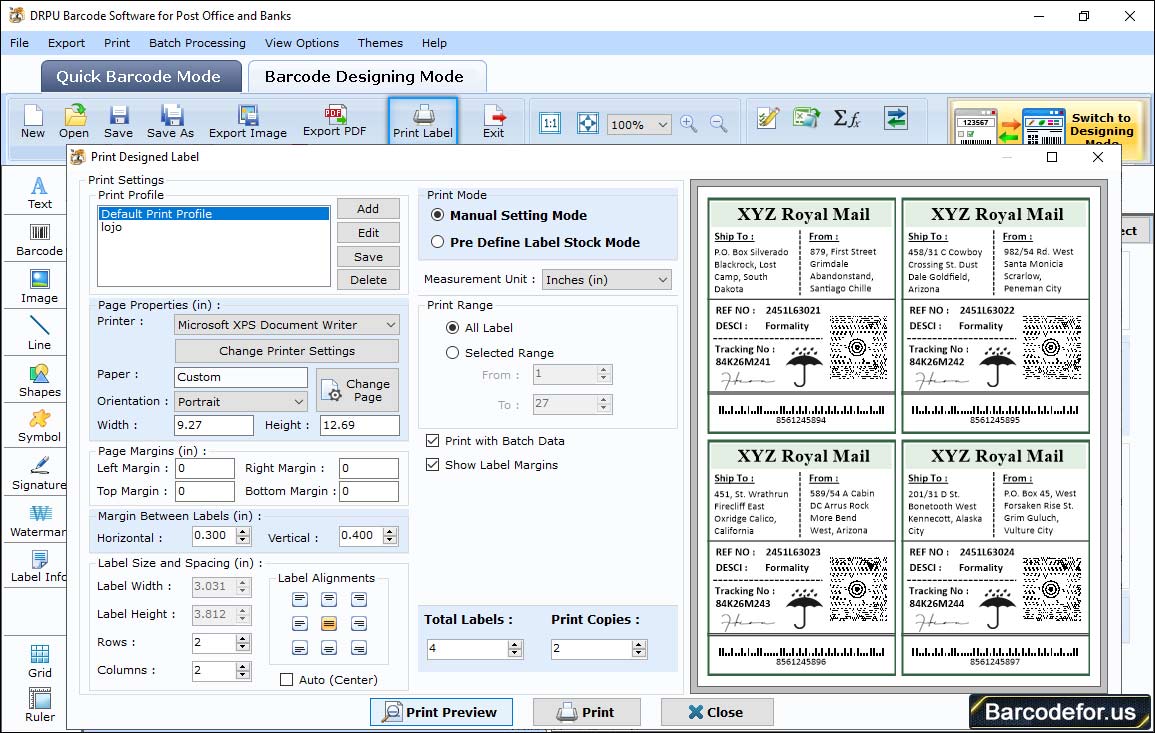
To print designed barcode, click on print icon, following print window will be appeared:

→ Select printing mode either Pre Define Label Stock or Manual
In 1 Pre Define Label Stock print mode, select a Label Product with b Product Number (e.g. Tico and LP4W-99142).
and c select printer as per requirement then click on “Print” button to start printing process.
In case of 2 Manual print mode, you can set all properties manually.


